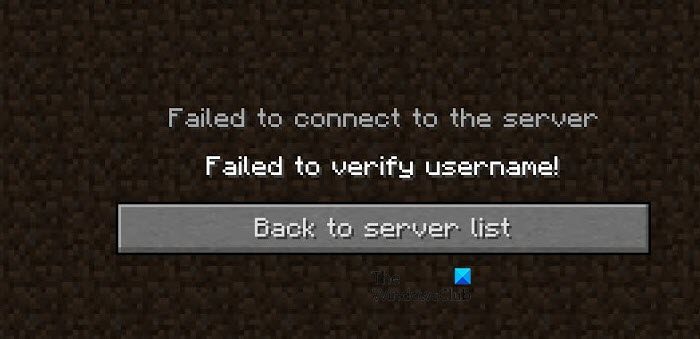
Fix Failed to verify username problem in Minecraft
If you encounter the error message, Failed to verify username in Minecraft, execute the solutions mentioned below to resolve the error. Let’s talk about these solutions in detail.
1] Log out of the Minecraft launcher and then log in
A lot of time, minor mishaps such as “failed to verify username” and “failed to create a Minecraft profile” errors may occur due to temporary glitches between your Minecraft launcher and its server. In such cases, the issue will resolve simply by logging out, and making sure that tasks related to the launcher are not running in the Task Manager, to do the same, click Citrl+Shift+Esc and then quit tasks related to Minecraft, finally, log back in and see if you are able to launch Minecraft or not.
2] Allow Minecraft connection through Firewall and antivirus program
Microsoft Windows Firewall and your Antivirus program may detect resources necessary for Minecraft to function properly as a threat to your device and block them. This can lead to the error in question, and hence, we are going to allow Minecraft connection through the firewall and antivirus software. Follow the steps prescribed below to do the same:
Go to the Search bar and open Windows Security.Select the Firewall &network protection, and click on the Allow an app through firewall option.Now, click on the Change settings button, and allow Minecraft through both Private and Public networks.Finally, select the OK button to save the changes.
Now, launch Minecraft, and log in to your account. Hopefully, this will do the job.
3] Update the launcher and JAVA
Maybe the problem is because of the fact that you are using an outdated version of both the launcher as well as JAVA. Minecraft needs an updated version of JAVA, therefore, we recommend you update JAVA first and then follow the steps mentioned below to update the launcher. Next up, update the Java Runtime Environment. Once they are updated, reboot your PC, connect to the server and see if the issue persists or not.
4] Switch the server mode to offline mode
A lot of users commented that switching a custom Minecraft server to the offline mode resolves the issue. Therefore, in this solution, we are going to do the same and then check if the issue persists or not. To do the same, execute the steps given below:
Quit the Minecraft server properly and then go to the installation directory of the server.Click on the Properties file and open it in Notepad.Select Expand button and then click on the Find option.Go to Online-mode, and switch its value to False.
Once done, launch the game, and log in to see if the error message is still popping up or not.
5] Edit the Hosts file
Your computer has the Hosts file that is responsible to redirect websites to their corresponding IP address. However, there may be issues with the Minecraft configuration resulting in the said error. Therefore, in order to fix the issue, you need to remove Minecraft entries from the host’s file. Here’s how you can do the same: Launch File explorer and then navigate to the following location: Click on the file type dropdown and select All Files. Now, double-click on the Hosts and expand the Edit menu. Click on the Find option and search Minecraft (or Mojang). Finally, clear all the entries related to it. At last, save the file. Now, try launching Minecraft and see if the issue is resolved or not. TIP: You can use the Hosts File Editor PowerToy to easily edit the Hosts file. Some users are also facing issues while making a username as Minecraft doesn’t let them make a username. If you are in the same boat as them, just use a different username as this issue usually occurs when there’s an account already registered with the same username. Hopefully, the solutions mentioned in this post will resolve the issue. Read: Fix Minecraft game has crashed with Exit Code 0.

