Check, Lower or Increase CPU usage in Windows 11/10
If, all of a sudden you have started seeing unexpected spikes or a drop in CPU usage in Windows 10, you can follow these tips to check the usage and manage it as desired.
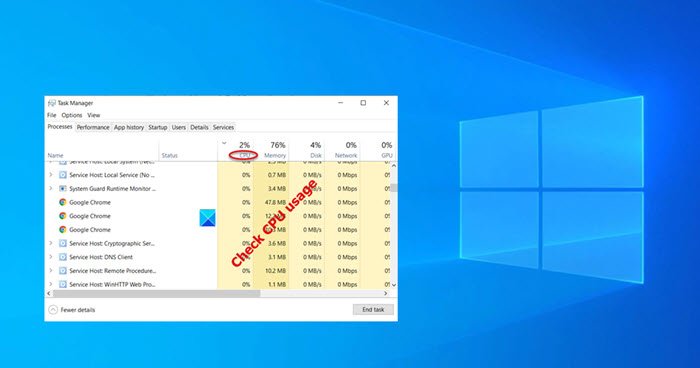
1] How to check CPU usage in Windows 11/10
The Task Manager provides one of the quickest and easiest ways for checking CPU usage. Once you’re in the Task Manager, click the Processes tab at the top. Click the ‘More details’ option at the bottom of this tab to reveal background Windows processes. Then, simply look for the CPU column, adjacent to the Processes tab and click it to order by CPU usage.
2] How to increase or Maximize CPU usage in Windows 11/10
High CPU power is essential for web browsing and performing other resource-intensive tasks. You can increase CPU usage by following a simple trick. We know, most Windows systems are equipped with energy-saving software that automatically slows down the computer’s CPU if its temperature rises past a pre-determined value. You can change its Minimum Processor State settings to run the CPU cooling fans faster. That way you can continue running applications that use a high CPU. Read: How to limit CPU usage for a process in Windows
3] How to lower CPU usage in windows 11/10
A quick way to lower the CPU usage in Windows 11/10 is to restart your computer to remove any unwanted temporary files. Make sure to save your work before proceeding with this step! Alternatively, you can look for the applications that are using maximum CPU resources under Task Manager. If any service comes across as a memory hog, just right-click it and select the End Task option. Check the Task Manager and processes running under it. If there’s any process that shows CPU usage almost 100% disable it and then start it again. Similarly, the built-in Windows service Service Host Superfetch predicts which applications a user will run next and thus, pre-loads the necessary data into the system’s memory. It also does the same with boot files. This results in high CPU usage. To stop it and lower the CPU usage, disable SysMain, earlier known as Superfetch. The Windows system automatically assigns the Priority Levels to the running processes based, but you can change the level manually.
You can change the process priority level in Windows 11/10. The higher up the Priority Level assigned to the process, the more processor resources it uses; hence, the better the performance of the application using the process. To reduce CPU usage, you may reduce its Priority Level.
Note that although you can easily set process priorities, it’s only temporary because the process reverts to its default priority level when you close the program or reboot your computer.